PC Game: Treasure Island download torrent

Game: Treasure Island: In search of pirate treasure
Year: 2008
Genre: Quest / Adventure / from a third party
Developer: Radon Labs
Publisher: HMH Interactive
Publisher in Russia: Akella
Publication Type: RePack
Language: Russian
Language: Russian
This game was made ??on a story by Robert Louis Stevenson. The game will be a lot of adventures, dangers, mysteries, all as close to the case on the book. The game is still quite a lot of different mini-quests, puzzles, quests, logic and ingenuity. Characters anemirovanye on the latest technologies.
Features:
- People, Life, the surrounding landscapes are made by the book.
- The game changes weather and time of day.
- Music in the game and not what some orchestral.
Features Repack:
- Russian version used as a basis
- All on-site
- RePack by R.G. mechanics
System requirements:
Operating system: Windows XP / Windows Vista / Windows Seven
Processor: Intel Pentium 4 2,2 GHz, AMD Athlon 64 2200 +
RAM: 1 GB
Free hard drive space: 4 GB
Video Card: Nvidia Geforce 6600 or Radeon X800, DirectX 9.0
Entry
Since you will talk to the pirate, who, after monologues ask a question about the tips. Choose the option to provide clues.
Chapter 1
After talking with Livesey, rise to the tomb of Admiral Benbow and take the statue of a sword. Then go to the tavern "Admiral Benbow".
Take away from the desk mug, go to the bar and fill the cup of rum from the barrel, which is in the lower right corner of the screen. Mug with rum apply to Billy Bones. Then talk to the old pirate on any topic, which will appear in the dialog. At the end of the conversation Bonsu said that he would not continue the dialogue until it again wet his throat. Take his mug and leave the tavern yard.
Use the sword on a stone pit to make a handle. Then use the handle and lift the bucket. Use the mug on the bucket, and then go back to the tavern.
Give Billy a cup. After Bones break the cup, picking up a splinter and go behind the bar. From there, go down to the basement. They pick up a broom and a bottle of rum.
Upstairs, talk with Antoinette on any topic. Picking up a black mark, consider it - turn over the note to read the inscription. Then pick up the key from the corpse of Billy Bones and climb to the second floor stairs to the right. Go into the room of the old pirate, which is located at the end of the corridor.
Open the chest with a key to take away from Billy. On the lid of the chest, apply a splinter circles. Next, inspect the card found. When finished viewing a treasure map, go down to see who came into the tavern. Will be the guest of Blind Pew. The rest of the team at this moment around the tavern.
Go down to the basement. After Antoinette go for help, use the broom on the ceiling. When you hear the noise at the top, climb up and get out of the tavern. On the street you will find Trelawney, Livesey, and Antoinette, and with them will be soldiers who will be engaged in putting down the pirates. When the thugs Pugh will be finished, talk to Trelawney and Livesey.
Chapter 2. Harsh customs
Go down the stairs, turn right under the arch and go to the tavern "Spyglass".
Go down the stairs. Take a torch, standing next to the chest, then go right to the bar. They talk with Israel Hands. In conversation you can use any of the replicas. Next will be John Silver, with whom you also need to talk.
Having received from his job, find a couple of sailors who go to the bottom right corner of the tavern to the table, behind which is played with dice. Look at the table, and then talk to Alessandro Del Rocco. To talk with a sailor, you can only break in the bone between the parties. In the process of dialogue, you need to use only the top in the list of replicas. After the conversation leave the tavern.
Walk up to the corner, near which is a prostitute in a red apron. Talk to her, by any replica. Your goal - to get the dice. When finished talking, go to Port Lane. When you get to the embankment, go left and talk to George and Mary. This sailor will give you a task - to find his fish mascot.
Read the announcement of the search, which hangs on the wall of the left (you'll need to find and read all the posts - just 4, pasted around the city to pass a pirate test), inspect the cage with a skeleton - you will find a steel ring. Next, go down the alley, the entrance to which is located next to George, Mary.
Talk to the officer, then go up the stairs. Before you enter into the arch, read the announcement of Bob wanted a crow's nest. Talk to one of the children who are in the lane. Guys will test you on knowledge of known pirates. To pass the test, try my tip.
Pirate Nickname: Bob Crow's Nest
Name: Robert O'Malley
Crime: Scams, illegal gambling
Where was seen: Tavern "Dancing innkeeper"
The reward for the capture of 50 gold
Nickname pirate Captain Flint
Name: William J. Flint
Crime: Robbery. Attacks on the court. Captain "Walrus"
Where was seen: Jamaica
The reward for the capture of 600 gold
Pirate Nickname: Bill Cleaver
Name: William Butcher
Crime: Assault in the ports of Bristol
Where was seen Montego Bay, Nassau
The reward for the capture of 100 gold
Pirate Nickname: Phantom
Name: Unknown. Tattoo "Perir en mer!" on hand
Crime: Theft
Where was spotted in Bristol, bakery
The reward for the capture: No
After finishing the test, get out of the alley, go left and go under the arch to the tavern "Spyglass". Talk to the annoying customer who sticks to prostitute. In the dialog box, use any cues. Then go to the embankment.
Walk left, look at the table, on which there is a bucket and a hook. Take the hook - George, Mary runs away into the alley, move behind him. Talk to the officer noticed a tavern on the pirate. When the soldiers flee arrest Phantom, go to the door and undo the knot of rope holding the mirror. Then lift off the roadway network and go to the children who were tested on your knowledge of the pirates. Give him the hook, instead get a dice. After that, go back to the port on the waterfront, down the stairs to the water. Look at the water - will find a brilliant fish. Next, combine in the inventory network, a metal ring and a torch. You should have a net, which you can get the fish out of water. Return to the prostitutes, and talk to any of them. At the end of the conversation you'll get the second die. Combine the bones in your inventory and go to the tavern Silver.
Give a fish, George, Mary. Then go to the table, where they play dice. Use the cubes to Alessandro Del Rocco. After the Spaniard will run away from the tavern, go outside and walk past the prostitutes in Port Lane. You'll find Alessandro - talk to him, using a replica top dialogue. When the Spaniard will go on board the "Hispaniola", go back to the tavern and talk to John Silver.
Chapter 3. A storm
Go down the stairs and walk to the main deck. Sign In closed door on the passenger deck. Once in his cabin, picking up the rope and go out into the corridor. Go to the cabin Joyce and talk to him. The dialogue can choose any replica. Come out of the cabin.
After talking with the boatswain, go down the screen, go down the stairs to the living deck. They go a little bit down the corridor - take away a piece of board from the ceiling. Then go forward to the barrel with fresh water. Take the scoop from the barrel and use it on the barrel - it is clear that fresh water is running out. Walk to the right of George, Mary. On the floor at the feet is a circle, and the support pole stuck an ax - take away these things and talk to Mary about his talisman. After that, go right to the end of a residential deck, climb the stairs to the galley and go to the upper deck. There's talk with Dr. Livesey Health Joyce. By the end of the conversation go to the galley and have a talk with John Silver about the health of Joyce. Then go outside and go left on the deck. Climb to the middle deck, talk to Antoinette about her new clothes, and that you too can climb the rigging to the top. After the conversation go up to the bridge. They talk to the captain Smollett, using a replica of the top of the list of dialogue.
Go down to the middle deck, try to go to the captain's cabin, and then pick up a bucket, standing in the ventilation hatches. Get down on the main deck, walk to the entrance to the galley and, being in the position, click on the mast to climb the rigging to the top observation deck. They use any cue from the list. When will be at the top, Jim picks a piece of the flag, then you need to come down.
Return to the main deck and talk to a sailor named Dick (dressed in black coat). The conversation you'll need to continue for as long as you can not ask the sailor that he was thinking about Captain Smollett. After that, the mini-game where you need to repeat the orders of the commander, but not exactly, and choose from a list of cues, the most similar to the order. In the end, tired of repeating the captain of his team and he will go down from the bridge to deal with the sailor.
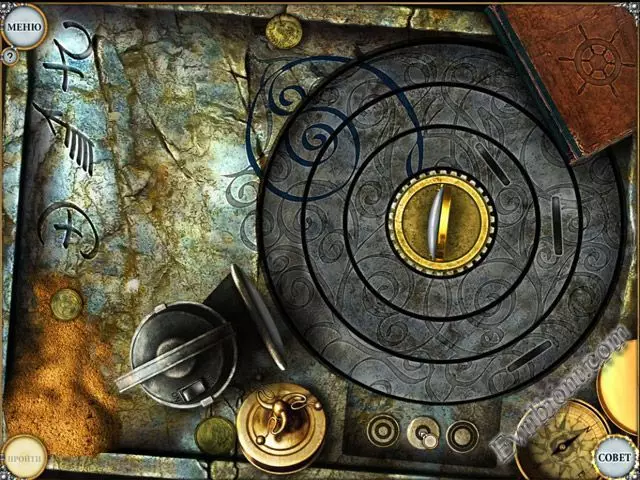
Speak to Antoinette on assignments for the extraction of a piece of the flag. Then go to the captain's cabin. Go to the far wall, take a roll of paper lying at the Globe. Then inspect the map. Take pen and ink to use. Next, combine in the inventory pen and paper scroll - get set for the letter. Then use a piece of cloth on the ink, and in your inventory will be a black mark. Now you need to look safe. Combination of numbers that opens the safe, will coordinate the Port Royala, which are set on the map of Captain (017 - 076). Opened the safe, use the set for the message to the warehouse log. Copying lists, get out of the cabin.
Go to the main deck. Use a black mark on the ventilation grille - hear the cries of George, Mary. Go to the galley and give a copy of the list of Silver. Having received the key to the pantry cook, take the scraps from the table, standing to the left of John. Then go to the living deck, ask for a mascot for George, Mary, get what you want, use obtained from the Silver Key on the door leading into the hold.
Downstairs, go to the left side of the hold. They use the ax on the rope holding the barrel. Use the talisman of Mary on a barrel of rum to open it, then apply a barrel mug. Rum filling capacity, open your inventory and combine it with a rope with a stick, then use the resulting bunch in a bucket - it will catch. You will only need to combine the trap and scraps that you have turned rat-trap. Next, find a rat in the hold and apply to the rat-trap the animal. Now you need to go back to the galley.
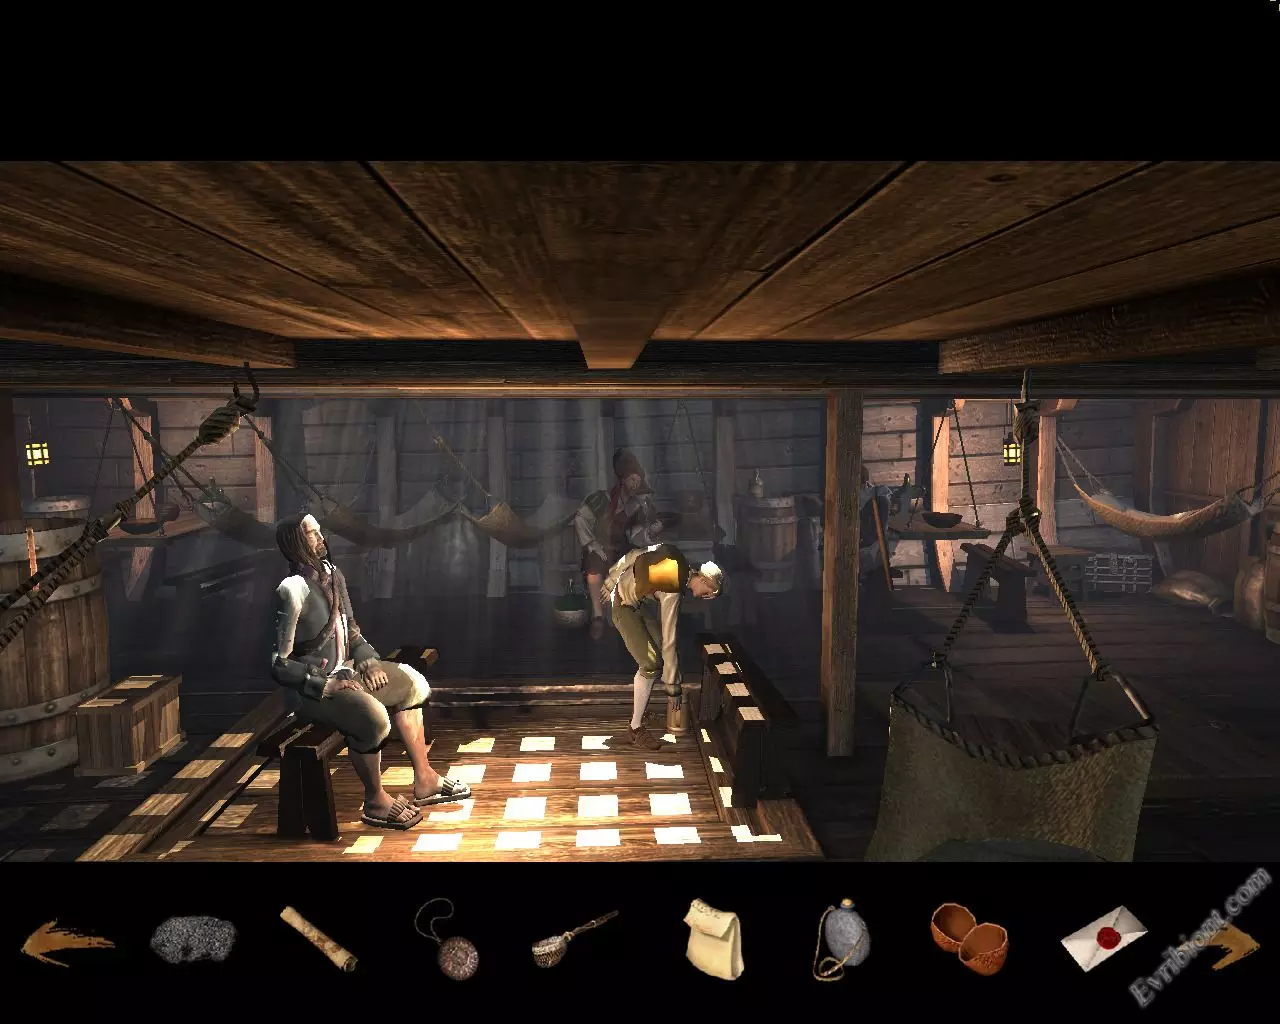
Give John a scoop of algae, a mug of rum and a rat. Then get out of the galley and then go back. Talk to Silver, to get a refreshing soup. Then go to the cabin Joyce. Giving him soup, go down to the deck and the residential use a ladle on the barrel with fresh water. Once you learn about the brewing rebellion, return to the cabin Joyce. Talk to the servant on any topic, and then go out into the hallway, where he met Antoinette, which you also need to talk. By the end of the conversation follow the girl.
Out on the main deck, you'll need to save Marie Antoinette, which was almost washed overboard. To do this you need to go through the whole ship in the bow, and you should still avoid the shock waves. To do this, you have to move in between the blows, and when the wave will roll on the deck, you need to grasp at the bolt-nog (the handle). On the deck there are three pieces: the first - on the inside of the bulwarks, the second - on the boat, located behind the Black Dog, and the third - again on the inside of the bulwarks. When she reached the girl, talk to it using any replica.
Chapter 4. Land!
Examine the four graves are located in the meadow - there will be an entry in his diary. Then go to the swamps along the trail, located in the upper left side of the scene. When will be in the camp, pick up the British flag, and then Jim will copy the image into the diary depicted in the rock. Come out of the camp.
To the right of the large stone will see the shiny object. Try to take it - will be in the pit. There you will find a sharp shell, then the dead man's bag. When it gets to your inventory, look at it and become the owner of the human bones, a hammer and a leather belt. Belt apply to the root sticking out of the pit - so you can get out of the trap. Go back to the clearing of graves and walk into the jungle on the trail, located in the upper right corner of the location.
Once at the fork, where different amounts of Troki marked signs, you should refer to the entries in the diary. Hint is in the order of death and names of fellow Flint. Start the movement in this order:
* Go to the middle path, marked by four figures;
* Go straight;
* Pass on the right path, marked by a little man mat;
* Go to the middle path - three characters;
* Pass on the right path, marked by a figure;
* Go straight.
So Jim will be able to find the fort.
Use the hammer on the door blockhouse. After the first board hammer break. In inventory, combine peen hammer and a human bone. Use the new hammer on the door, then go inside the building.
Pick up a piece of wood lying on the floor right of the boiler. Combine it with a bowl in your inventory. Next, inspect the broken stairs, and then return to the clearing of graves, where you will use the saw on a makeshift swords, which are located on one of the graves. Return to the blockhouse. Use the sword on the ladder to make the step. When the climb up, use a British flag on the flagpole.
Chapter 5. Hunters and the victim
Talk to Silver using any replica. When the battle begins, take a powder from the barrel, standing on a bench on the left. Then go to the table, which is located on the right wall. From there, grab a flask of rum and coconut shell. Next, open the bag of Dr. Livesey, standing behind him. There you can find a bandage and a paper bag. In inventory, examine a paper bag - you will find chemicals. Then turn the bag so that Jim was able to find a way to prepare Far bomb. Now we need to start making bombs.
A. Mix in the inventory of chemicals, and rum.
Two. Apply the mixture to the pot, located in the center of the blockhouse.
Three. In inventory, combine the resulting pellets of gunpowder, and to the resulting mixture add the coconut shell.
4. Stuffed with coconut wrap bandage.
Making the light bomb, get out of a keg of gunpowder still, and then climb the stairs to the platform with the flagpole. They raise the roof glowing with a burning stick. Use the gun powder, followed by a light bomb, and then apply to the hole for the ignition, located in the gun, smoldering stick.
After the fireworks leave the roof of the blockhouse. Caught in the yard, run to the left and exit the fort through a hole in the fence. Walk along the trail to the camp - meet Ben Ghana. Talk to him, and then click on the boat to resume dialogue with the abandoned pirate. Encourage your child to exchange a boat - lishenets ask in return will give you the cheese and the boat.
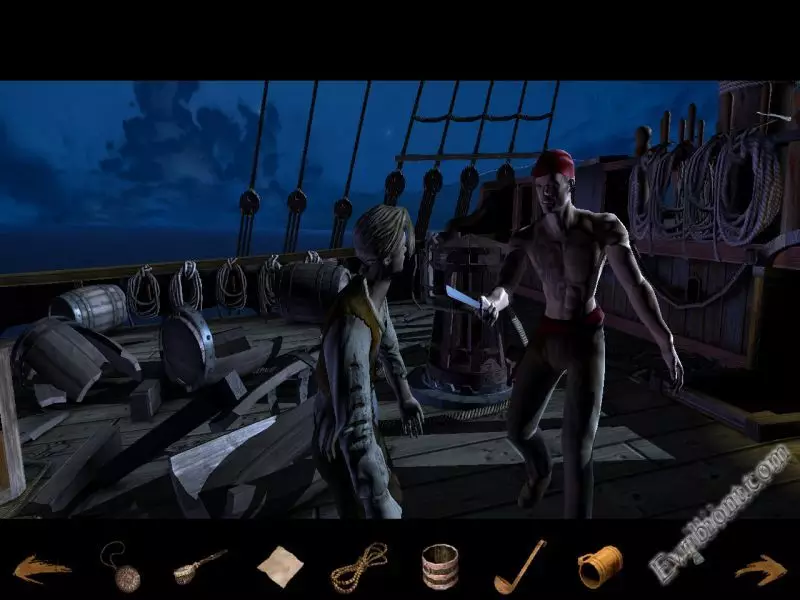
Get in the boat. Having reached the schooner, listen to angry tirades Antoinette, and then move right along side the ship to the anchor line. Climb on it on the deck, go to the ventilation grating, located in the center of the ship and pick up from the deck of a rag. Its use in a puddle of oil spilled on the deck to the right of the grid. Then go left, go up the stairs and go into the captain's cabin. There you will find my daughter Trelawney. Talk to her, and then return to the main deck. From there, go to the passenger deck. Go into the cabin of Dr. Livesey. They pick up a stick from the floor, pick up the powder from the bed, and on the tables, take a piece of cheese. Return to the main deck and go to the stern of the vessel. Open inventory and combine it with oil-soaked rag to a stick of Dr. Livesey - get a torch. Use it on the stern lantern to light the torch, and then go right the ship before the anchor line, collapsed on the deck. Use the torch on the rope - schooner go to drift. When the deck will be Israel Hands, talk to him, by any replica. When finished talking, use it on the boatswain powder. Next, pick up a knife from the deck and go to the captain's cabin to release Antoinette. By cutting the ropes with a knife, get out of the cabin.
When will be on the island, talk to Ben Hahn.
Chapter 6. Piastres, piastres...
Once you double-talk with Silver, Jim's friends to see the attack on the pirates and listen to talk of winners, go to the left of the screen to leave the location.
Once at this point, you will need to go through the maze. Tip for the passage in his diary Jim - drawing, which he copied from a cliff into the camp of Ben Ghana. You should go like this: Go into the left path, go left across the screen again, then turn left path, stay on it, and then go on the right track. So you get to the entrance of the cave with the treasure. Next, divide the treasure is waiting for you and a lot of conversations, where you can use any of the replicas. Once you pick up a gun, use it on the stalactite, which is located above the head of Dr. Livesey. By the end of the conversation that will continue after the fire, examine the treasures of the Incas and take away from the pile statuette "The eye of the goddess of the Incas." Use the statuette for Long John Silver. Actually, the game is over. Will only see the final movie.
Year: 2008
Genre: Quest / Adventure / from a third party
Developer: Radon Labs
Publisher: HMH Interactive
Publisher in Russia: Akella
Publication Type: RePack
Language: Russian
Language: Russian
This game was made ??on a story by Robert Louis Stevenson. The game will be a lot of adventures, dangers, mysteries, all as close to the case on the book. The game is still quite a lot of different mini-quests, puzzles, quests, logic and ingenuity. Characters anemirovanye on the latest technologies.
Features:
- People, Life, the surrounding landscapes are made by the book.
- The game changes weather and time of day.
- Music in the game and not what some orchestral.
Features Repack:
- Russian version used as a basis
- All on-site
- RePack by R.G. mechanics
System requirements:
Operating system: Windows XP / Windows Vista / Windows Seven
Processor: Intel Pentium 4 2,2 GHz, AMD Athlon 64 2200 +
RAM: 1 GB
Free hard drive space: 4 GB
Video Card: Nvidia Geforce 6600 or Radeon X800, DirectX 9.0

Entry
Since you will talk to the pirate, who, after monologues ask a question about the tips. Choose the option to provide clues.
Chapter 1
After talking with Livesey, rise to the tomb of Admiral Benbow and take the statue of a sword. Then go to the tavern "Admiral Benbow".
Take away from the desk mug, go to the bar and fill the cup of rum from the barrel, which is in the lower right corner of the screen. Mug with rum apply to Billy Bones. Then talk to the old pirate on any topic, which will appear in the dialog. At the end of the conversation Bonsu said that he would not continue the dialogue until it again wet his throat. Take his mug and leave the tavern yard.
Use the sword on a stone pit to make a handle. Then use the handle and lift the bucket. Use the mug on the bucket, and then go back to the tavern.
Give Billy a cup. After Bones break the cup, picking up a splinter and go behind the bar. From there, go down to the basement. They pick up a broom and a bottle of rum.
Upstairs, talk with Antoinette on any topic. Picking up a black mark, consider it - turn over the note to read the inscription. Then pick up the key from the corpse of Billy Bones and climb to the second floor stairs to the right. Go into the room of the old pirate, which is located at the end of the corridor.
Open the chest with a key to take away from Billy. On the lid of the chest, apply a splinter circles. Next, inspect the card found. When finished viewing a treasure map, go down to see who came into the tavern. Will be the guest of Blind Pew. The rest of the team at this moment around the tavern.
Go down to the basement. After Antoinette go for help, use the broom on the ceiling. When you hear the noise at the top, climb up and get out of the tavern. On the street you will find Trelawney, Livesey, and Antoinette, and with them will be soldiers who will be engaged in putting down the pirates. When the thugs Pugh will be finished, talk to Trelawney and Livesey.
Chapter 2. Harsh customs
Go down the stairs, turn right under the arch and go to the tavern "Spyglass".
Go down the stairs. Take a torch, standing next to the chest, then go right to the bar. They talk with Israel Hands. In conversation you can use any of the replicas. Next will be John Silver, with whom you also need to talk.
Having received from his job, find a couple of sailors who go to the bottom right corner of the tavern to the table, behind which is played with dice. Look at the table, and then talk to Alessandro Del Rocco. To talk with a sailor, you can only break in the bone between the parties. In the process of dialogue, you need to use only the top in the list of replicas. After the conversation leave the tavern.
Walk up to the corner, near which is a prostitute in a red apron. Talk to her, by any replica. Your goal - to get the dice. When finished talking, go to Port Lane. When you get to the embankment, go left and talk to George and Mary. This sailor will give you a task - to find his fish mascot.
Read the announcement of the search, which hangs on the wall of the left (you'll need to find and read all the posts - just 4, pasted around the city to pass a pirate test), inspect the cage with a skeleton - you will find a steel ring. Next, go down the alley, the entrance to which is located next to George, Mary.
Talk to the officer, then go up the stairs. Before you enter into the arch, read the announcement of Bob wanted a crow's nest. Talk to one of the children who are in the lane. Guys will test you on knowledge of known pirates. To pass the test, try my tip.
Pirate Nickname: Bob Crow's Nest
Name: Robert O'Malley
Crime: Scams, illegal gambling
Where was seen: Tavern "Dancing innkeeper"
The reward for the capture of 50 gold
Nickname pirate Captain Flint
Name: William J. Flint
Crime: Robbery. Attacks on the court. Captain "Walrus"
Where was seen: Jamaica
The reward for the capture of 600 gold
Pirate Nickname: Bill Cleaver
Name: William Butcher
Crime: Assault in the ports of Bristol
Where was seen Montego Bay, Nassau
The reward for the capture of 100 gold
Pirate Nickname: Phantom
Name: Unknown. Tattoo "Perir en mer!" on hand
Crime: Theft
Where was spotted in Bristol, bakery
The reward for the capture: No
After finishing the test, get out of the alley, go left and go under the arch to the tavern "Spyglass". Talk to the annoying customer who sticks to prostitute. In the dialog box, use any cues. Then go to the embankment.
Walk left, look at the table, on which there is a bucket and a hook. Take the hook - George, Mary runs away into the alley, move behind him. Talk to the officer noticed a tavern on the pirate. When the soldiers flee arrest Phantom, go to the door and undo the knot of rope holding the mirror. Then lift off the roadway network and go to the children who were tested on your knowledge of the pirates. Give him the hook, instead get a dice. After that, go back to the port on the waterfront, down the stairs to the water. Look at the water - will find a brilliant fish. Next, combine in the inventory network, a metal ring and a torch. You should have a net, which you can get the fish out of water. Return to the prostitutes, and talk to any of them. At the end of the conversation you'll get the second die. Combine the bones in your inventory and go to the tavern Silver.
Give a fish, George, Mary. Then go to the table, where they play dice. Use the cubes to Alessandro Del Rocco. After the Spaniard will run away from the tavern, go outside and walk past the prostitutes in Port Lane. You'll find Alessandro - talk to him, using a replica top dialogue. When the Spaniard will go on board the "Hispaniola", go back to the tavern and talk to John Silver.
Chapter 3. A storm
Go down the stairs and walk to the main deck. Sign In closed door on the passenger deck. Once in his cabin, picking up the rope and go out into the corridor. Go to the cabin Joyce and talk to him. The dialogue can choose any replica. Come out of the cabin.
After talking with the boatswain, go down the screen, go down the stairs to the living deck. They go a little bit down the corridor - take away a piece of board from the ceiling. Then go forward to the barrel with fresh water. Take the scoop from the barrel and use it on the barrel - it is clear that fresh water is running out. Walk to the right of George, Mary. On the floor at the feet is a circle, and the support pole stuck an ax - take away these things and talk to Mary about his talisman. After that, go right to the end of a residential deck, climb the stairs to the galley and go to the upper deck. There's talk with Dr. Livesey Health Joyce. By the end of the conversation go to the galley and have a talk with John Silver about the health of Joyce. Then go outside and go left on the deck. Climb to the middle deck, talk to Antoinette about her new clothes, and that you too can climb the rigging to the top. After the conversation go up to the bridge. They talk to the captain Smollett, using a replica of the top of the list of dialogue.
Go down to the middle deck, try to go to the captain's cabin, and then pick up a bucket, standing in the ventilation hatches. Get down on the main deck, walk to the entrance to the galley and, being in the position, click on the mast to climb the rigging to the top observation deck. They use any cue from the list. When will be at the top, Jim picks a piece of the flag, then you need to come down.
Return to the main deck and talk to a sailor named Dick (dressed in black coat). The conversation you'll need to continue for as long as you can not ask the sailor that he was thinking about Captain Smollett. After that, the mini-game where you need to repeat the orders of the commander, but not exactly, and choose from a list of cues, the most similar to the order. In the end, tired of repeating the captain of his team and he will go down from the bridge to deal with the sailor.
Speak to Antoinette on assignments for the extraction of a piece of the flag. Then go to the captain's cabin. Go to the far wall, take a roll of paper lying at the Globe. Then inspect the map. Take pen and ink to use. Next, combine in the inventory pen and paper scroll - get set for the letter. Then use a piece of cloth on the ink, and in your inventory will be a black mark. Now you need to look safe. Combination of numbers that opens the safe, will coordinate the Port Royala, which are set on the map of Captain (017 - 076). Opened the safe, use the set for the message to the warehouse log. Copying lists, get out of the cabin.
Go to the main deck. Use a black mark on the ventilation grille - hear the cries of George, Mary. Go to the galley and give a copy of the list of Silver. Having received the key to the pantry cook, take the scraps from the table, standing to the left of John. Then go to the living deck, ask for a mascot for George, Mary, get what you want, use obtained from the Silver Key on the door leading into the hold.
Downstairs, go to the left side of the hold. They use the ax on the rope holding the barrel. Use the talisman of Mary on a barrel of rum to open it, then apply a barrel mug. Rum filling capacity, open your inventory and combine it with a rope with a stick, then use the resulting bunch in a bucket - it will catch. You will only need to combine the trap and scraps that you have turned rat-trap. Next, find a rat in the hold and apply to the rat-trap the animal. Now you need to go back to the galley.
Give John a scoop of algae, a mug of rum and a rat. Then get out of the galley and then go back. Talk to Silver, to get a refreshing soup. Then go to the cabin Joyce. Giving him soup, go down to the deck and the residential use a ladle on the barrel with fresh water. Once you learn about the brewing rebellion, return to the cabin Joyce. Talk to the servant on any topic, and then go out into the hallway, where he met Antoinette, which you also need to talk. By the end of the conversation follow the girl.
Out on the main deck, you'll need to save Marie Antoinette, which was almost washed overboard. To do this you need to go through the whole ship in the bow, and you should still avoid the shock waves. To do this, you have to move in between the blows, and when the wave will roll on the deck, you need to grasp at the bolt-nog (the handle). On the deck there are three pieces: the first - on the inside of the bulwarks, the second - on the boat, located behind the Black Dog, and the third - again on the inside of the bulwarks. When she reached the girl, talk to it using any replica.
Chapter 4. Land!
Examine the four graves are located in the meadow - there will be an entry in his diary. Then go to the swamps along the trail, located in the upper left side of the scene. When will be in the camp, pick up the British flag, and then Jim will copy the image into the diary depicted in the rock. Come out of the camp.
To the right of the large stone will see the shiny object. Try to take it - will be in the pit. There you will find a sharp shell, then the dead man's bag. When it gets to your inventory, look at it and become the owner of the human bones, a hammer and a leather belt. Belt apply to the root sticking out of the pit - so you can get out of the trap. Go back to the clearing of graves and walk into the jungle on the trail, located in the upper right corner of the location.
Once at the fork, where different amounts of Troki marked signs, you should refer to the entries in the diary. Hint is in the order of death and names of fellow Flint. Start the movement in this order:
* Go to the middle path, marked by four figures;
* Go straight;
* Pass on the right path, marked by a little man mat;
* Go to the middle path - three characters;
* Pass on the right path, marked by a figure;
* Go straight.
So Jim will be able to find the fort.
Use the hammer on the door blockhouse. After the first board hammer break. In inventory, combine peen hammer and a human bone. Use the new hammer on the door, then go inside the building.
Pick up a piece of wood lying on the floor right of the boiler. Combine it with a bowl in your inventory. Next, inspect the broken stairs, and then return to the clearing of graves, where you will use the saw on a makeshift swords, which are located on one of the graves. Return to the blockhouse. Use the sword on the ladder to make the step. When the climb up, use a British flag on the flagpole.
Chapter 5. Hunters and the victim
Talk to Silver using any replica. When the battle begins, take a powder from the barrel, standing on a bench on the left. Then go to the table, which is located on the right wall. From there, grab a flask of rum and coconut shell. Next, open the bag of Dr. Livesey, standing behind him. There you can find a bandage and a paper bag. In inventory, examine a paper bag - you will find chemicals. Then turn the bag so that Jim was able to find a way to prepare Far bomb. Now we need to start making bombs.
A. Mix in the inventory of chemicals, and rum.
Two. Apply the mixture to the pot, located in the center of the blockhouse.
Three. In inventory, combine the resulting pellets of gunpowder, and to the resulting mixture add the coconut shell.
4. Stuffed with coconut wrap bandage.
Making the light bomb, get out of a keg of gunpowder still, and then climb the stairs to the platform with the flagpole. They raise the roof glowing with a burning stick. Use the gun powder, followed by a light bomb, and then apply to the hole for the ignition, located in the gun, smoldering stick.
After the fireworks leave the roof of the blockhouse. Caught in the yard, run to the left and exit the fort through a hole in the fence. Walk along the trail to the camp - meet Ben Ghana. Talk to him, and then click on the boat to resume dialogue with the abandoned pirate. Encourage your child to exchange a boat - lishenets ask in return will give you the cheese and the boat.
Get in the boat. Having reached the schooner, listen to angry tirades Antoinette, and then move right along side the ship to the anchor line. Climb on it on the deck, go to the ventilation grating, located in the center of the ship and pick up from the deck of a rag. Its use in a puddle of oil spilled on the deck to the right of the grid. Then go left, go up the stairs and go into the captain's cabin. There you will find my daughter Trelawney. Talk to her, and then return to the main deck. From there, go to the passenger deck. Go into the cabin of Dr. Livesey. They pick up a stick from the floor, pick up the powder from the bed, and on the tables, take a piece of cheese. Return to the main deck and go to the stern of the vessel. Open inventory and combine it with oil-soaked rag to a stick of Dr. Livesey - get a torch. Use it on the stern lantern to light the torch, and then go right the ship before the anchor line, collapsed on the deck. Use the torch on the rope - schooner go to drift. When the deck will be Israel Hands, talk to him, by any replica. When finished talking, use it on the boatswain powder. Next, pick up a knife from the deck and go to the captain's cabin to release Antoinette. By cutting the ropes with a knife, get out of the cabin.
When will be on the island, talk to Ben Hahn.
Chapter 6. Piastres, piastres...
Once you double-talk with Silver, Jim's friends to see the attack on the pirates and listen to talk of winners, go to the left of the screen to leave the location.
Once at this point, you will need to go through the maze. Tip for the passage in his diary Jim - drawing, which he copied from a cliff into the camp of Ben Ghana. You should go like this: Go into the left path, go left across the screen again, then turn left path, stay on it, and then go on the right track. So you get to the entrance of the cave with the treasure. Next, divide the treasure is waiting for you and a lot of conversations, where you can use any of the replicas. Once you pick up a gun, use it on the stalactite, which is located above the head of Dr. Livesey. By the end of the conversation that will continue after the fire, examine the treasures of the Incas and take away from the pile statuette "The eye of the goddess of the Incas." Use the statuette for Long John Silver. Actually, the game is over. Will only see the final movie.


